A funeral slideshow is usually made in the few days between a death and the service, by someone who already has too much to arrange. This guide keeps the job small. With the photos gathered, expect about half an hour of work.
Step 1: Gather the photos
Ten to thirty photos is the usual range. A handful of favourites is plenty if that is what you have.
- Ask the family chat. One message asking each relative for their two favourite photos fills an album by the evening.
- Mix the eras. Childhood, working years, family occasions, recent pictures. Photos from different times of their life let the slideshow tell their story.
- Prints count. Photograph old prints with your phone in daylight, straight on. Scans work too. Faded and black-and-white photos belong here.
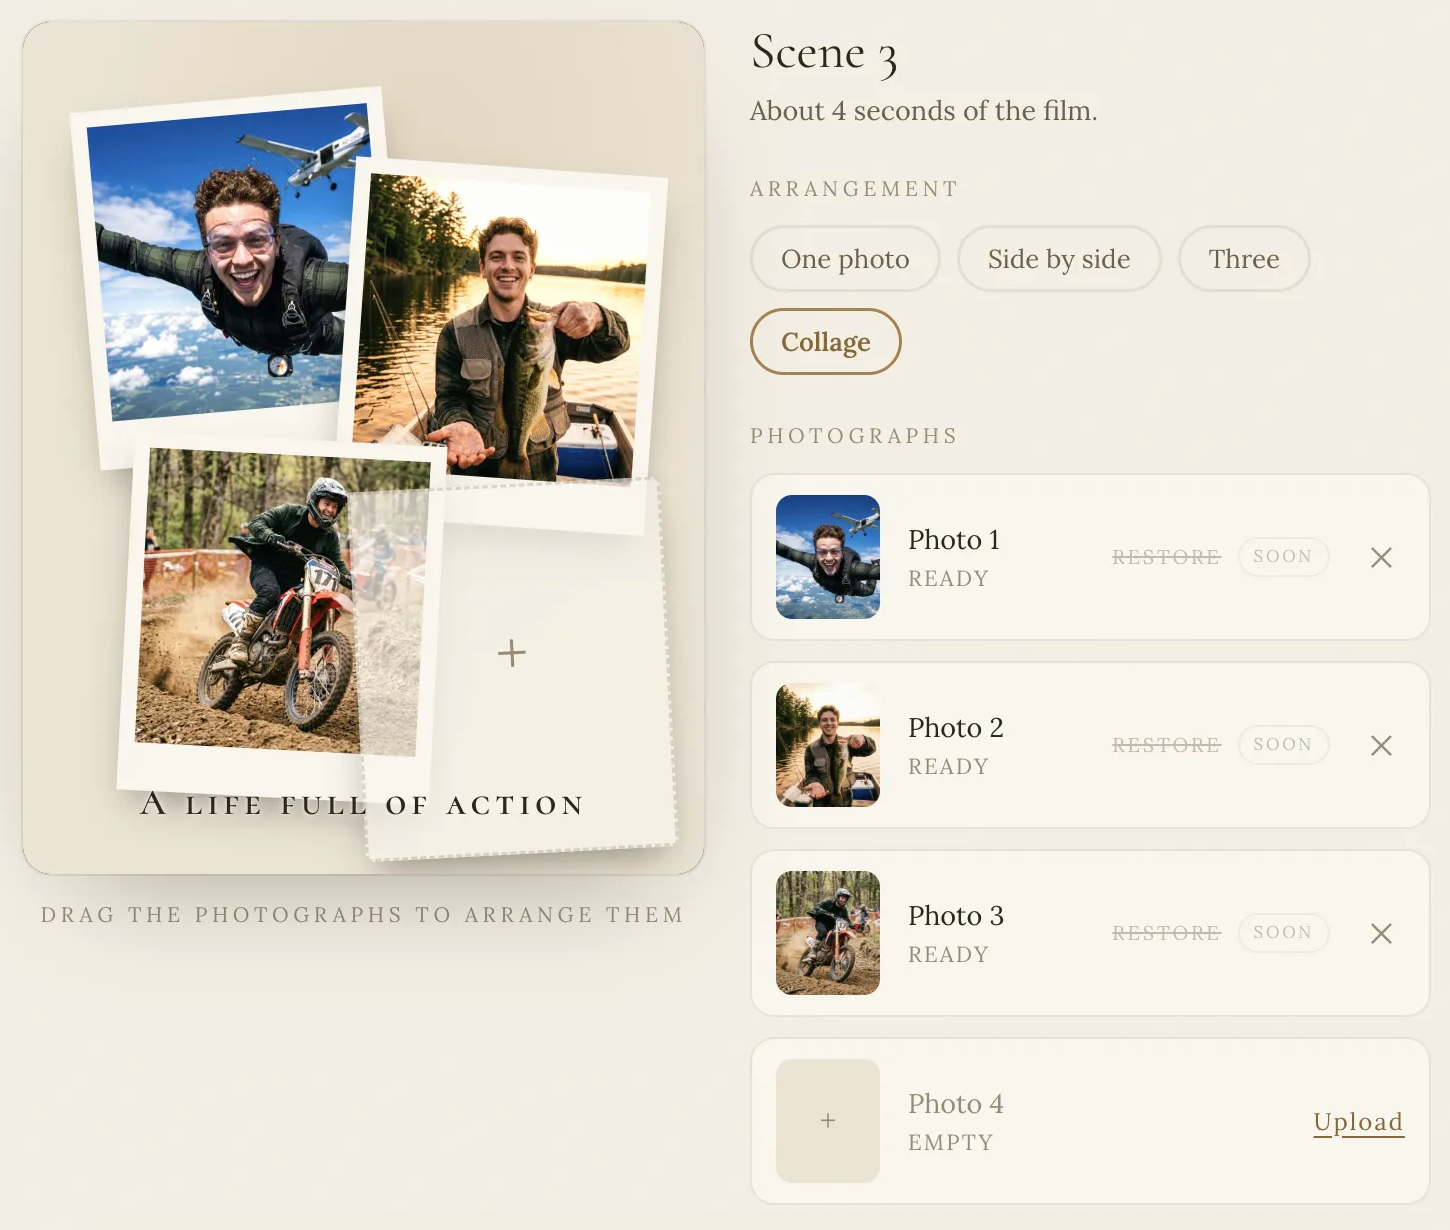 Uploading photos to a scene: each scene holds one photo, a pair, or a collage. Drag to arrange.
Step 2: Put them in order
Chronological order tells the story with no extra work: earliest photo first, most recent last. If the dates are uncertain, group by chapter instead - childhood, family, later years - and keep each group together. The room follows the life as it unfolds.
Step 3: Choose the music
Gentle instrumental music suits a service; it carries the photos without competing with them.
One warning that saves real grief later: if the service will be livestreamed or recorded, a popular song can get the recording muted or removed for copyright, sometimes months afterwards. Licensed music beds avoid this. The funeral slideshow maker includes gentle, licensed music, so there is nothing to source and nothing to worry about in the recording. Three licensed music beds, safe for livestreamed services.
Step 4: Add the name and dates
Open with a simple title card: their name and dates, nothing more. It sets the tone and gives the room a quiet moment before the first photograph.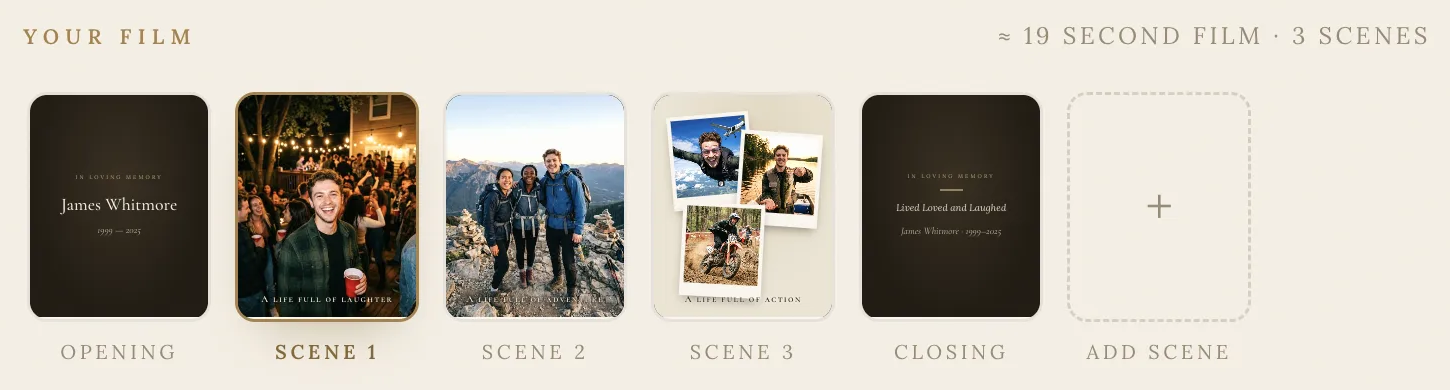 The film in order: the opening and closing cards carry the name and dates.
Step 5: Export as MP4 and test at the venue
Funeral homes, churches and crematoria handle MP4 files routinely. Bring the file two ways: on a USB stick for the venue's screen, and on a laptop as backup. If you can, test the screen and the sound before guests arrive - a two-minute check spares an anxious moment during the service.
Step 6: Share it afterwards
The slideshow outlives the day. Send the file privately to relatives who could not travel, include it in the livestream if there is one, and keep it for the anniversary or the next family gathering.
How long should it run?
A few minutes is typical - long enough to honor their life, short enough to hold the room. The length follows the number of photos, so it stays as long or as brief as feels right.
What a finished slideshow looks like
A finished film: gentle motion between photographs, a title card, soft music underneath.The fast way
The funeral slideshow maker does the arranging for you: upload the photos, choose the music, add their name and dates. The MP4 is ready in minutes, and you watch it before you pay. For a celebration of life or a memorial gathering, the memorial slideshow maker and celebration of life video pages cover those settings.